


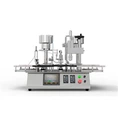
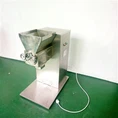
Hey there! As a supplier of China vial fillers, I know that at some point, you might need to replace parts of your vial filler. It could be due to wear and tear, an upgrade, or just a simple malfunction. In this blog post, I'll share some tips on how to replace parts of a China vial filler.
Step 1: Identify the Problem
The first step in replacing parts of a vial filler is to figure out what's wrong. Is the machine not filling properly? Is there a leak? Does a particular component seem to be making strange noises? By pinpointing the problem, you can determine which parts need to be replaced.
For example, if you notice that the vials aren't getting filled with the right amount of liquid, it could be an issue with the filling nozzles. Or, if there's a leak around the stopper insertion area, the Stoppering Machine might have a worn - out seal.
Step 2: Source the Right Parts
Once you've identified the faulty parts, you need to find the right replacements. As a China vial filler supplier, I can tell you that it's super important to get parts that are compatible with your machine. You don't want to end up with parts that don't fit or don't work as expected.
You can source parts from the original manufacturer if possible. They'll have parts that are specifically designed for your vial filler model. However, there are also third - party suppliers who offer high - quality replacement parts at competitive prices. Just make sure to do your research and check reviews before making a purchase.
Step 3: Gather the Necessary Tools
Before you start replacing the parts, gather all the tools you'll need. This could include wrenches, screwdrivers, pliers, and maybe some specialized tools depending on the part you're replacing. Having all the tools ready will make the replacement process much smoother and faster.
For instance, if you're replacing a pump in the Vial Filling Machine, you might need a set of socket wrenches to remove the bolts holding the pump in place.
Step 4: Safety First
Safety should always be your top priority when working on any machine. Before you start replacing parts, make sure to turn off the vial filler and unplug it from the power source. This will prevent any electrical accidents.
Also, wear appropriate safety gear like gloves and safety glasses. Some parts might be sharp or have chemicals on them, so it's better to be safe than sorry.
Step 5: Remove the Old Part
Now it's time to remove the old part. Follow the machine's manual or any guidelines provided by the manufacturer. Usually, you'll need to loosen bolts, screws, or clamps to detach the part.
Be careful when removing the part, especially if it's heavy or delicate. You don't want to damage any other components of the vial filler in the process. For example, if you're removing a conveyor belt, make sure not to tug too hard and damage the rollers or the motor.
Step 6: Install the New Part
Once the old part is out, it's time to install the new one. Again, refer to the manual for proper installation instructions. Make sure to align the new part correctly and tighten all the bolts and screws securely.
If you're installing a new capping head on the Capping Machine, for example, you need to ensure that it's centered and level so that it can cap the vials properly.
Step 7: Test the Machine
After installing the new part, it's crucial to test the vial filler. Plug it back in, turn it on, and run a few test cycles. Check if the problem you initially identified has been resolved.
If the machine is still not working correctly, double - check the installation of the new part. Maybe a bolt wasn't tightened enough, or the part wasn't installed in the right position. It might take a few tries to get it right, but don't give up.
Step 8: Maintenance After Replacement
Once the vial filler is working properly again, don't forget about maintenance. Regular maintenance can prevent future part replacements. Clean the machine regularly, lubricate moving parts as recommended, and keep an eye on the performance of the new part.
For example, if you replaced a valve, make sure to check it periodically for any signs of leakage or malfunction.
Troubleshooting Tips
Sometimes, even after following all the steps, you might still encounter issues. Here are some common problems and how to solve them:

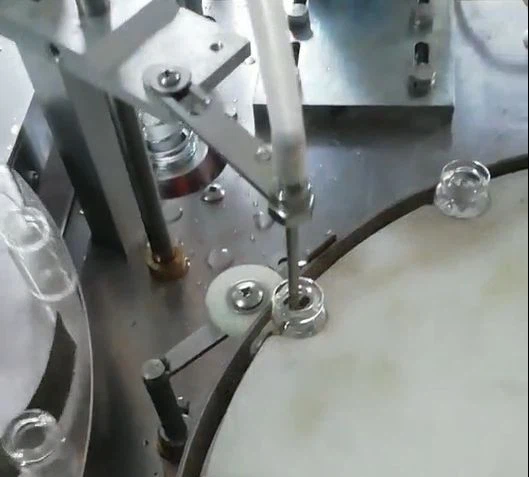
- The part doesn't fit: Double - check that you've ordered the right part. It could be that there was a mix - up in the ordering process. If you're sure you have the right part, there might be a problem with the machine itself. Contact the manufacturer or a professional technician for help.
- The machine still doesn't work: It could be that there's another underlying problem. Check other components that are related to the part you replaced. For example, if you replaced a pump but the filling is still off, the issue could be with the tubing or the control system.
When to Call a Professional
If you're not confident in your ability to replace parts or if you encounter a problem that you can't solve on your own, it's a good idea to call a professional technician. They have the expertise and experience to handle complex issues and ensure that your vial filler is up and running in no time.
Conclusion
Replacing parts of a China vial filler might seem daunting at first, but if you follow these steps and take your time, it can be a manageable task. Remember, safety is key, and always refer to the machine's manual.
If you're in the market for vial filler parts or have any questions about your vial filler, don't hesitate to reach out. We're here to help you keep your vial filling operations running smoothly. Whether you need a simple replacement part or a whole new machine, we've got you covered. Contact us today to start a discussion about your needs!
References
- Manufacturer's manuals for China vial fillers
- Industry best practices for vial filler maintenance and part replacement